After you have created an account and setup your payment method. This will give a brief overview of some important items you should look at.
Create Your Droplets
Droplets are what Digital Ocean calls virtual private servers (VPS). You do not share processing and memory with other users. You have full control of the server. When you get to the Create Droplets page you can choose a linux distribution or deploy a one-click app.
You have a choice of the following Linux distributions: Ubuntu, FreeBSD, Fedora, Debian, CoreOS, and CentOS.
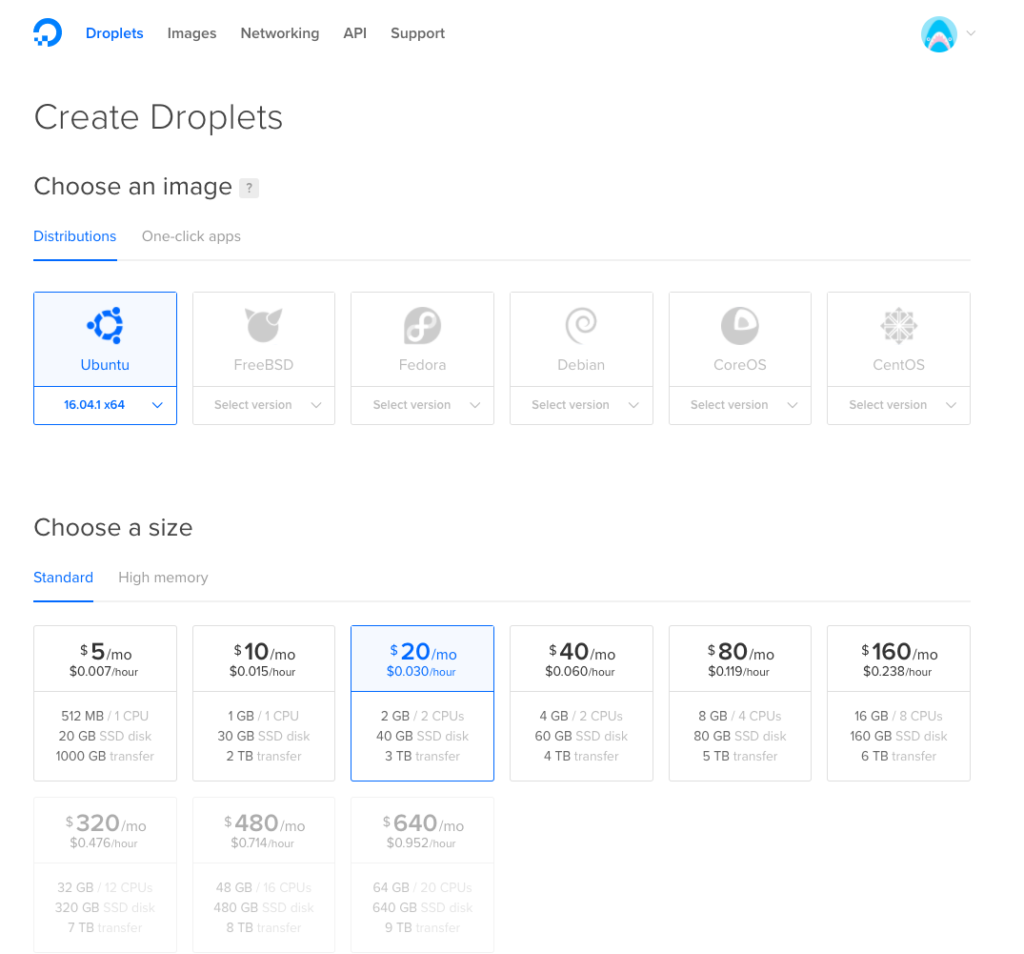
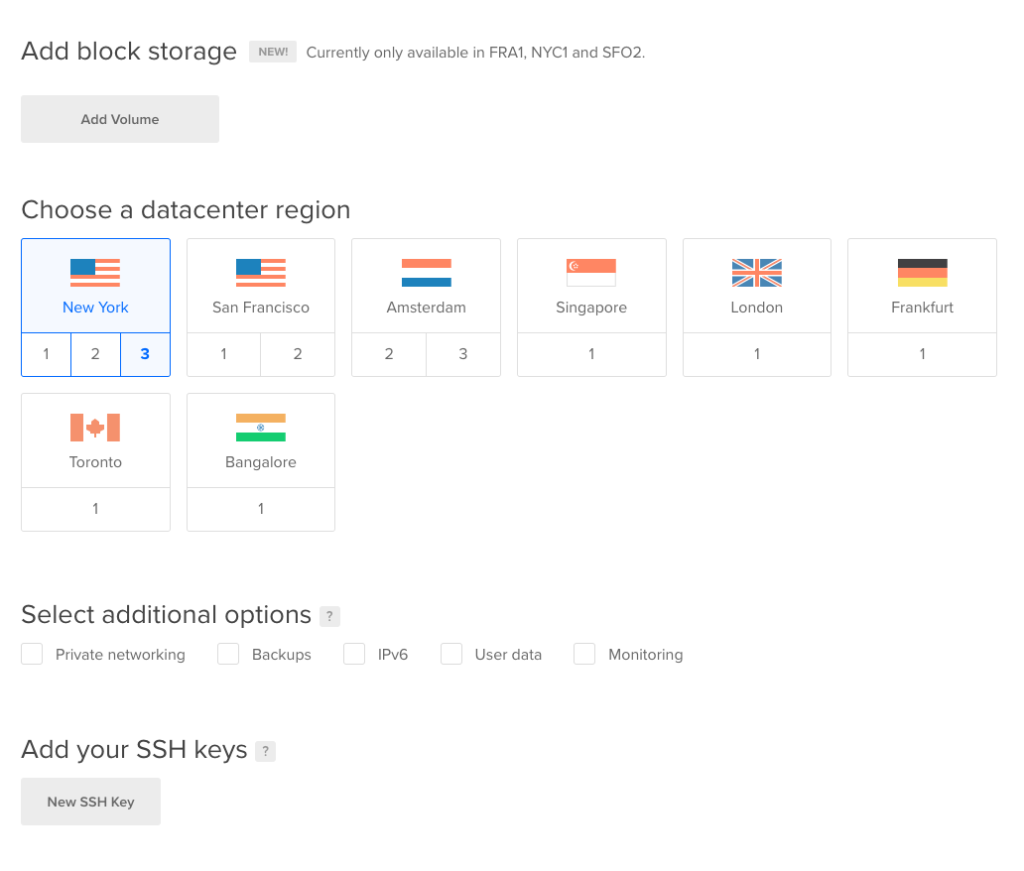
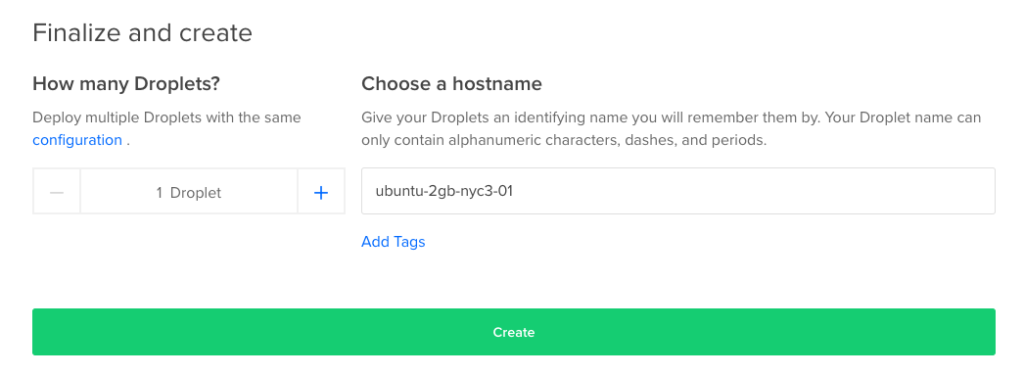
For both distribution option or one-click apps, you have the option to choose the size, option to add a storage block, datacenter region, other options such as backups, an option to add SSH keys (you can add them later), how many Droplets to create, and an option to change the hostname.
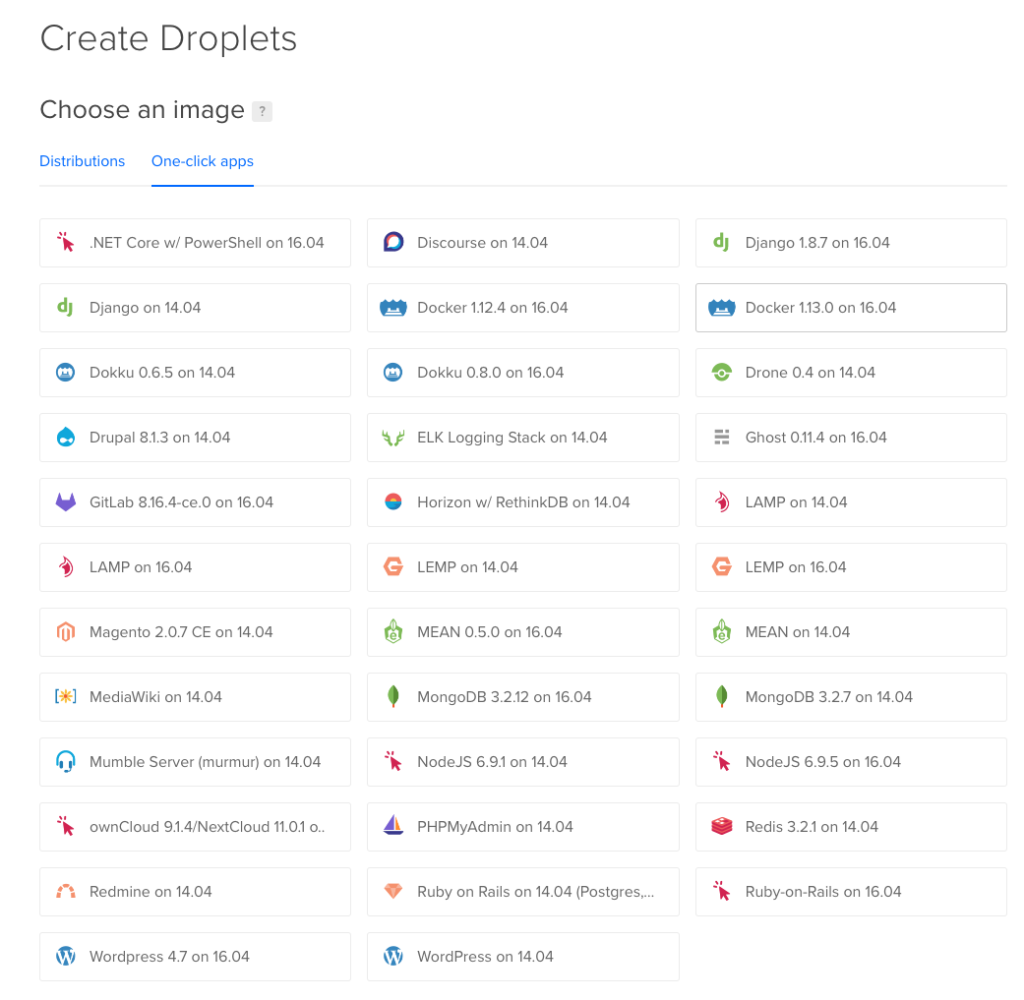
One-Click Apps
For one-click apps you can easily get a server setup quickly with some popular apps such as .NET Core with PowerShell, Discourse, Django, Docker, Dokku, Drone, Drupal, ELK Logging Stack, Ghost, GitLab, Horizon, LAMP, LEMP, Magento, MEAN, MediaWiki, MongoDB, Mumble Server, NodeJS, ownCloud, PHPMyAdmin, Redis, Readmine, Ruby on Rails (Rails), and WordPress.
After creating a Droplet
Once you finished creating a Droplet it should bring to a page similar to the following:
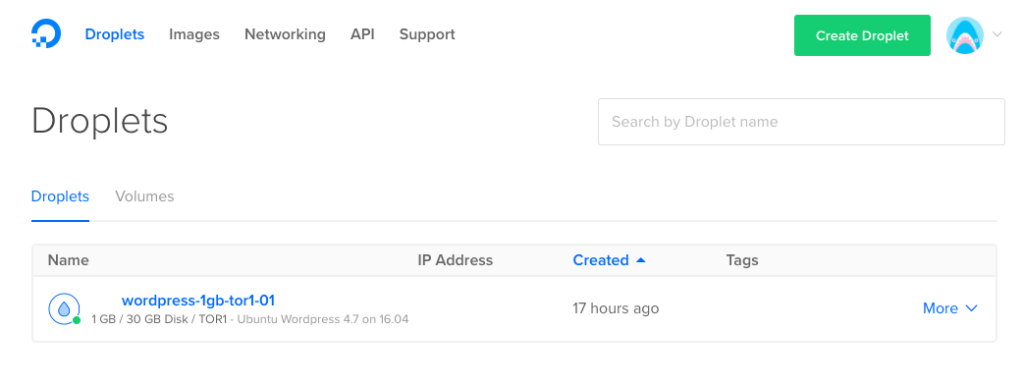
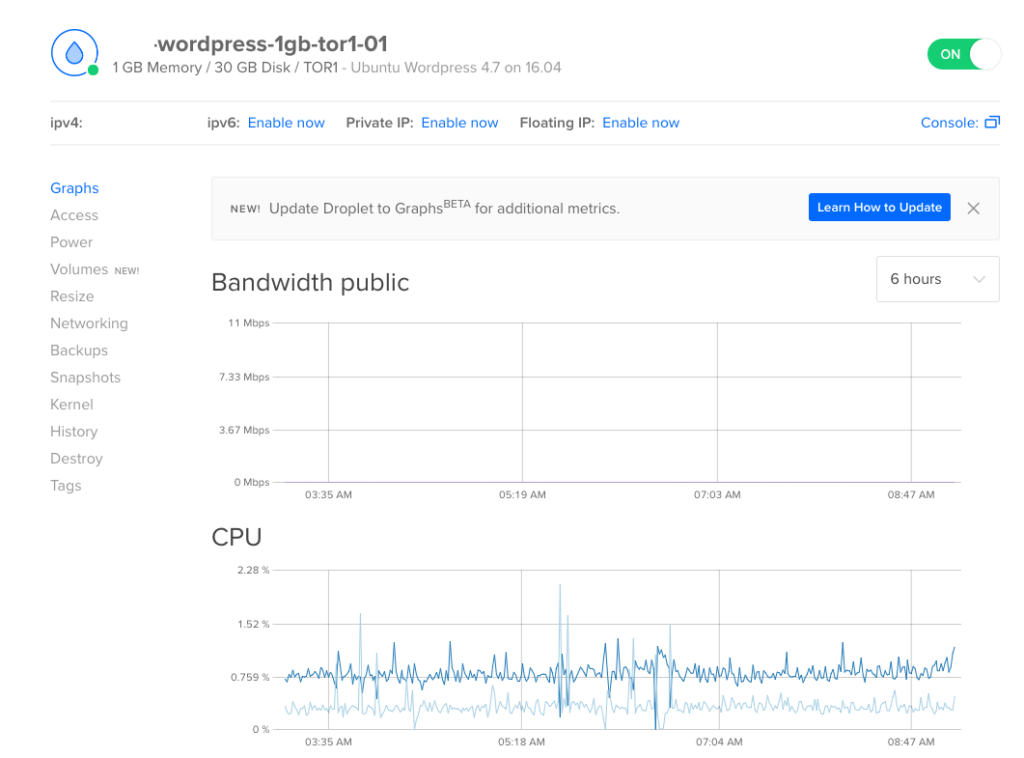
To change the options of the Droplet, click on the hostname, in this example I would click on wordpress-1gb-tor1-01. Then it will show you a page similar to below, showing a graph of the bandwidth public and cpu usage. It will also display memory, disk space, and datacenter for this server at the top under the hostname.
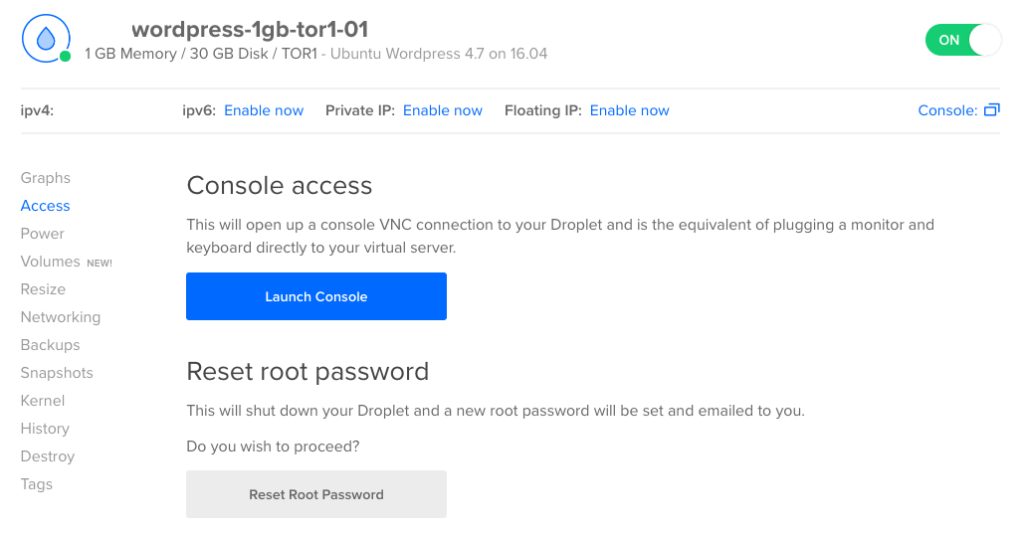
When you click on Access you can launch a console connection to your server without the need to add a SSH key or if you are away from a computer with SSH access. To login in to the server via the console for the first time, you will need to reset the root password.
Next have a look at DigitalOcean Networking or Settings.